This is part 2 of a 4 part series covering all of the big changes in 1.7.2 - In this article we'll do run through exactly how to use the new ZingGrid Supabase adapter. If you missed part 1, you can read it here.
Supabase is an open source Firebase alternative. There are a variety of services they offer, but for the purposes of this article, we'll be diving into how it can act as a simple backend for our grids.
Initial Setup
There are a few steps we need to run through on the Supabase side of things before we can start configuring our grids.
1) Account Creation
We first need to create the Supabase account that we will be connecting to. You can sign up for Supabase using this link. Once your account has been created and email confirmed, continue to the next step
2) Create Your First Project
Go ahead and head over to the dashboard page and create a new project. Make sure to note down the project name and database password.
3) Note Down Project Info
It is at this point you should see your Project URL and your API Key. We will need to give both of these to ZingGrid in our code later so make sure to store them in a secure local file.
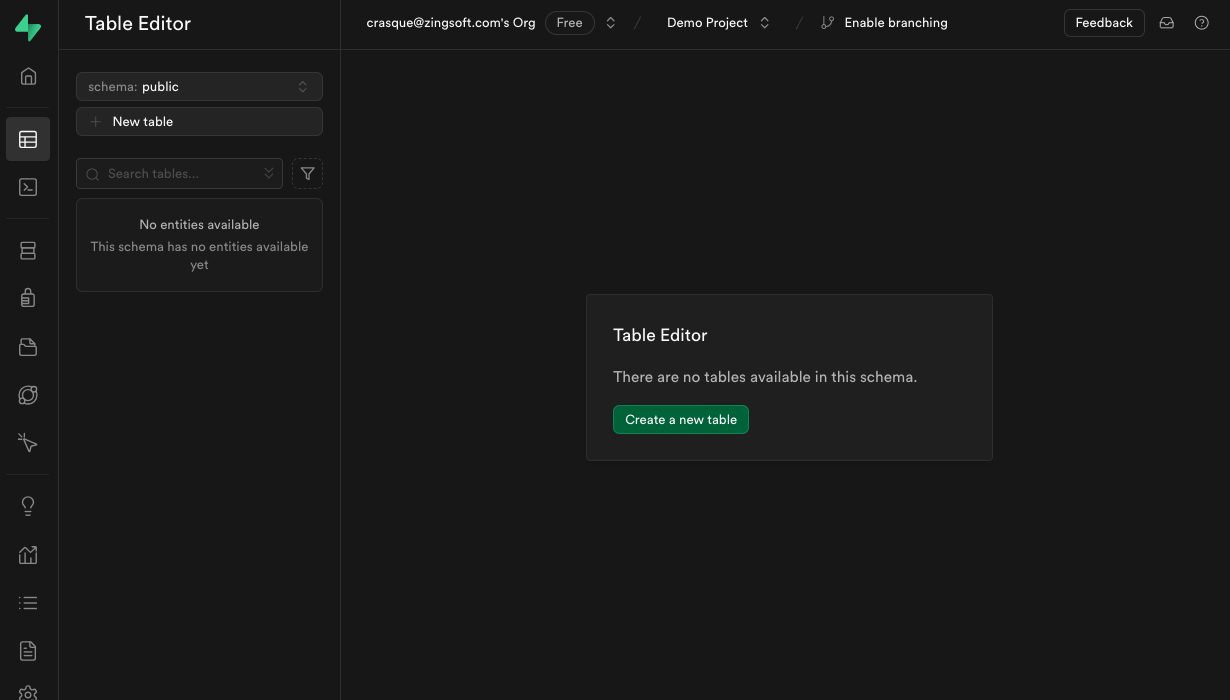
4) Create Your First Table
From the side bar click the Table Editor section. From here we can create our first table
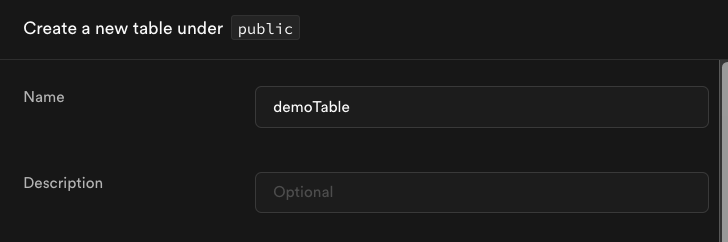
First step is to give our table a name, here I'll use demoTable
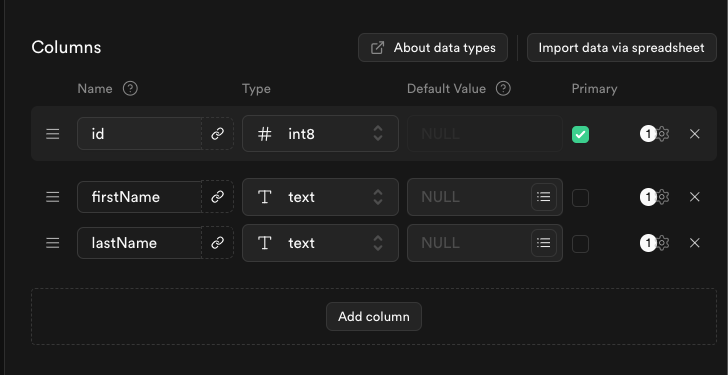
Then we can edit the columns, I'll have two columns for this example for first and last names.
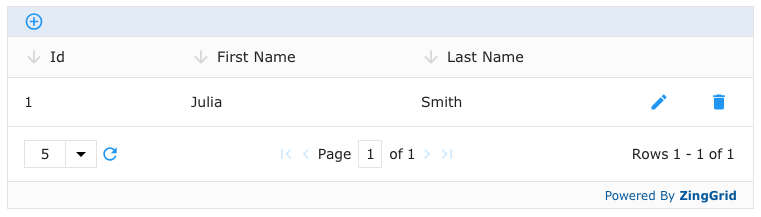
5) Add Some Sample Data
So that we have some data to load to test our connection we'll insert a sample row
6) Update Security Settings
We'll temporarily disable Row Level Security so we can easily read and write from our table for the purpose of this demo. In production we'll want to set up proper roles with authentication.
Supabase Adapter - REST API
ZingGrid supports both ways of interacting with Supabase - via the REST API and via the client script. We'll first go over using the REST API.
Using the initial demo code below, make sure to replace the following:
***link***- The Project URL that you noted down earlier***tableName***- The name of the Supabase table you just created***apiKey***- The Supabase API Key you noted down earlier
<html lang="en">
<head>
  <meta charset="UTF-8">
  <meta name="viewport" content="width=device-width, initial-scale=1.0">
  <meta http-equiv="X-UA-Compatible" content="ie=edge">
  <script src="/lib/zinggrid.js"></script>
  <title>Supabase</title>
</head>
<body>
  <zing-grid
    page-size="5"
    sort
    pager
    title="Supabase"
    editor-controls
    editor-disabled-fields="id"
    src="https://***link***.supabase.co/rest/v1/***tableName***"
  >
    <zg-data adapter="supabase">
      <zg-param
        name="headers"
        value='
          {
            "Authorization": "Bearer ***apiKey***",
            "apikey": "***apiKey***"
          }'
        ></zg-param>
    </zg-data>
  </zing-grid>
</body>
</html>
When viewing that page in the browser, you should start to see the initial data we populated come through!
SupabaseJS Adapter - Client Script
If your app happens to use the Supabase JavaScript Client Library (which you can read more about on their docs site), you are able to store your Supabase credentials outside of your markup making it much more flexible.
Amending the previous example, we first create a Superbase client object (more on that in their docs)
const supabaseUrl = 'https://***link***.supabase.co/';
const supabaseKey = '***apiKey***';
const supabaseClient = supabase.createClient(supabaseUrl, supabaseKey);
and then register that client with ZingGrid
ZingGrid.registerClient(supabaseClient);Finally we set the adapter attribute on zg-data to supabaseJS and we have the following
<html lang="en">
<head>
  <meta charset="UTF-8">
  <meta name="viewport" content="width=device-width, initial-scale=1.0">
  <meta http-equiv="X-UA-Compatible" content="ie=edge">
  <title>Supabase</title>
  <!-- ZingGrid -->
  <script src="https://cdn.zinggrid.com/zinggrid.min.js"></script>
  <!-- Supabase Client Library -->
  <script src="https://cdn.jsdelivr.net/npm/@supabase/supabase-js@2"></script>
</head>
<body>
  <script>
    const supabaseUrl = 'https://***link***.supabase.co/';
    const supabaseKey = '***apiKey***';
    const supabaseClient = supabase.createClient(supabaseUrl, supabaseKey);
    ZingGrid.registerClient(supabaseClient);
  </script>
  <zing-grid
    page-size="5"
    sort
    pager
    title="SupabaseJS"
    editor-controls
    editor-disabled-fields="id"
  >
    <zg-data adapter="supabaseJS">
      <zg-param name="dataTable" value="***tableName***"></zg-param>
    </zg-data>
  </zing-grid>
</body>
</html>
Working the same as before