Hey! I have been using Sketch for ZingChart to do a little design & prototyping to improve UX & UI. So far, I have really enjoyed using it.
I have acquired so many of my own useful tips & tricks, I thought we should pass on the advice to our readers. Let's jump right in.
Important Keyboard Shortcuts 🔥
-
Shift key + Mouse Drag (While Creating Shapes) = Proportional Shapes
-
Space bar + Mouse Drag = Panning
-
Option key + Mouse Drag = Duplicate
-
Command + D = Duplicate
-
Shift + Arrow Key (While Shape A Is Selected) = 10px Shift In Arrow Direction
-
Option + Command + C = Copy
-
Option + Command + V = Paste
-
Command + 2 (While A Shape Is Selected) = Zoom To Center Of Shape
-
Command + 1 = Zoom Out To Entire Artboard Or Frame
-
Command + Arrow Key (While A Shape Is Selected) = 10px Size Up Shape In Arrow Direction
-
Command + G (While Multiple Shapes Are Selected) = Group Shapes
-
Sketch Shapes Keyboard Shortcuts:
- R = Rectangle
- O = Oval
- L = Line
- U = Rounded Rectangle
- T = Text
- A = Artboard
"Hidden Features" 🙈
- Border radius can be changed to hold different values across individual edges, as opposed to just one value across the entire shape. Just use this type of notation (5/5/10/10) in the border-radius value box.

-
Inner Shadows can be used in place of the border attribute if you don't want a uniform border across your entire shape.
-
To unlock "save as", hold the option key while on the file menu.
-
You can revert to autosaves and previous save versions. Follow these steps to revert to a previous version:
- File -> Revert To -> Browse All Versions
- Autosave can be turned off. Autosave is on by default & saves upon close or command. Follow these steps to find the autosave option:
- Sketch -> Preferences -> General (first result here)
- Half pixels exist and can make for some blurry images if scaled up.
To remove half pixels select a shape then follow these steps:
-
Shape -> View -> Canvas -> Show Pixels THEN
-
Shape -> Layer -> Round To Nearest Pixel
-
Select a shape hold then hold the option key. This will show the distance between the selected shape and any other shape you then hover over.
-
Hit the tab key to easily toggle through layers of a grouped object.
-
To add a custom font (like Google Fonts) just download and install the font to your computer. It will then be available to access under your Sketch fonts.
-
To copy the CSS code of created shapes:
- Right-click a shape -> Copy CSS Attributes
- To copy the SVG code of created shapes:
- Right-click a shape -> Copy SVG Code
Sketch Design Workflow Tips 💯
1. Create A Style & Component Guide Early
Define your color style guide & create components. You will be using these in UI/UX designs for your site continually. This should be one of the first steps you take in Sketch.
These components will most likely be your navs, footers, divs, buttons, icons, cards, etc. After all of these components have been created, you can then save them as symbols in Sketch. Symbols become part of your Sketch library and can be used in later projects.
2. Use Shared Styles
Shared styles are essentially an extension of your components & symbols, just executed a little differently. Just as you can save components as symbols, you can save all of your font styles are shared styles for quick & easy use later on.
Create all of your header, paragraph, and link styles and save them as shared styles. Shared styles also become part of your Sketch library & will be available for use in future projects.
- Tip: If you have to make font changes across your entire project, shared styles are useful. If you edit a shared style, it implements the change across every location you used this shared style. This will allow you to edit an entire project in seconds.
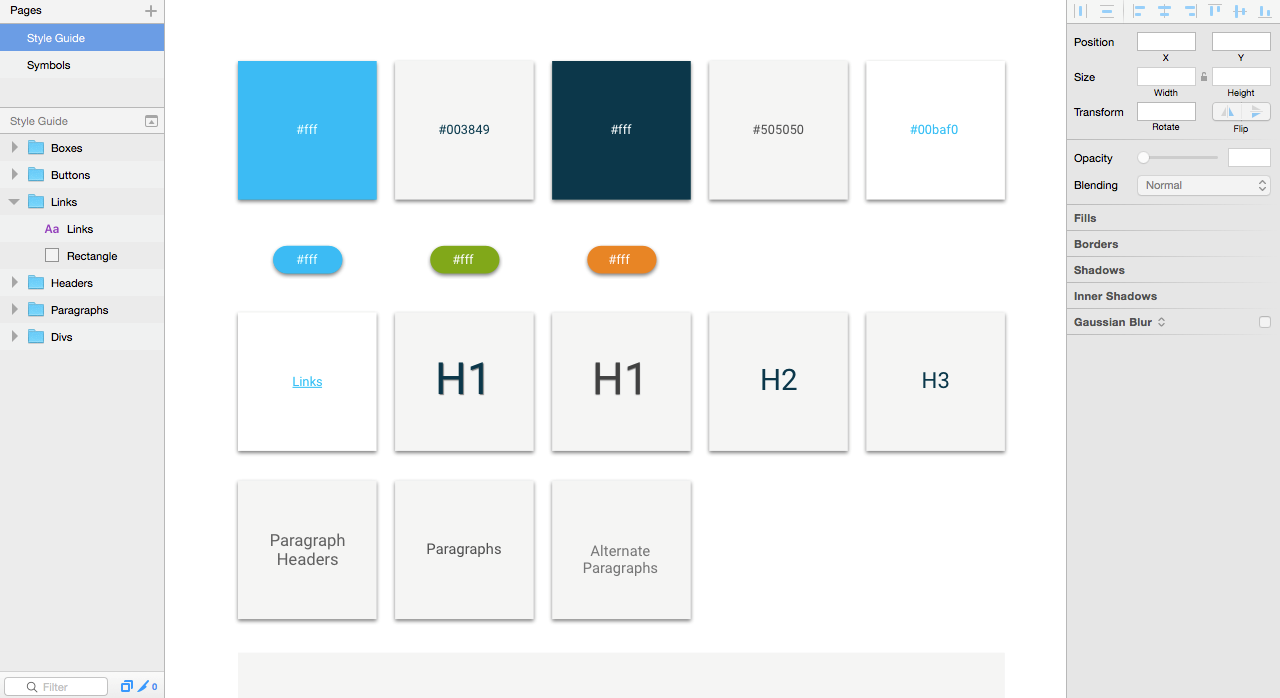
Here's a basic version of a component & shared styles guide:
3. Group Items & Name Them Accordingly
Most of your design will be comprised of multiple shapes combined together to create objects. All shapes that are used as an object should be grouped together.
This keeps an organized project file that is easy to navigate. This also allows you to select the entire object together if you need to move around your design.
4. The Order Of Shapes In A Sketch Project Is Important
The order of your groups (or objects) changes how they show up on your page. Let's say you have white text & a black rectangle on your page. If your rectangle is ordered first, the text will not show up.
However, if you reverse that order, it will magically show up! I had a lot of trouble with this concept when I first started using Sketch, so hopefully this helps you out.
If you are familiar with CSS, this works kind of like z-index. The highest items on your page have a greater z-index. This z-index decreases as you move down the page.
5. Combine Shapes Using Boolean Operations
Boolean operations in Sketch allow you to combine shapes in different ways. This feature allows you to essentially create most shapes you could imagine.
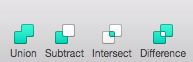
With Sketch you can take the union, subtraction, intersection, & difference of shapes. These operations should be located at the top right of your default Sketch screen.
6. Align Shapes Via The Operations Tab Bar
The operations tab bar is very useful when it comes to aligning objects together. This allows you to be precise in your alignments. There are 6 options of alignment. Horizontal, vertical, left, right, bottom, & top.
Just select the shapes you want to align together and click the operation you want to execute. You can also distribute shapes vertically & horizontally. Very straightforward & useful. They should be located on the top right of your default Sketch screen.

7. Sizing Options
Re-sizing objects & groups can be done in 4 ways. Stretch, pin to corner, float, & resize.
-
Stretch: Stretches the size of your entire object. Will distort the size of your object
-
Pin to corner: Sizes up your object while keeping your layer in the same proportion & position.
-
Float: Sizes up your object & keeps later in the same proportion. However, it moves your layer positioning based on size.
-
Re-size: Sizes up your object, but keeps items original distance apart.
8. Customize Your Toolbar
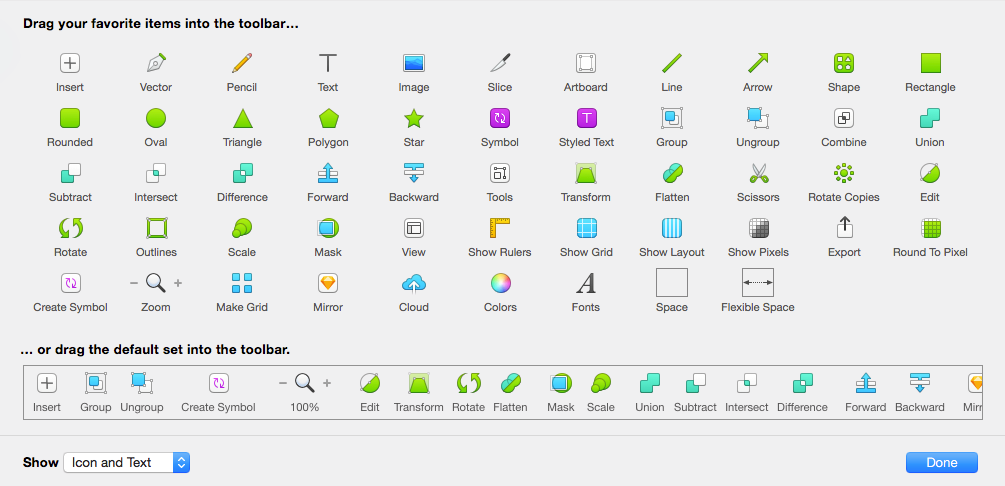
Customizing the Sketch toolbar is necessary for agility. You can add, subtract, and move around the items on your toolbar. Personalize it, make it yours. Your workflow will thank you for that. Here are the options you can choose from:
9. Download UI kits
A lot of the work you will eventually need to achieve in Sketch has already been done for you in large part. UI kits have everything from user onboarding screens to IOS feature kits. I would suggest you download some of these things to facilitate creation to improve your workflow speed. Here are some really good resources for that:
10. Use Plug-Ins
Plug-ins are one of the coolest features available in Sketch. Most of them are just extensions or things you could have built out for yourself, but why would you do that when you can just download and start using within minutes? Plug-ins save you ridiculous amount of creative time. Here's a list of some really useful ones:
Best Sketch Educational Resources 📚
Sketch Freebies 🆓