We had such a positive response to our ZingChart & Ember.js blog post and jQuery wrapper that we decided to develop another wrapper. This one is for users of AngularJS, so we’re calling it the ZingChart-AngularJS Directive.
AngularJS & Angularjs Charts
AngularJS is arguably the most popular JavaScript framework used today. It is an MVC framework that allows you to create dynamic web apps that leverage many deep concepts. People love AngularJS for some of its complex features, such as:
-
Two-way data binding
-
Dependency injection
-
Templates
-
The ability to create SPA (single-page applications) with a structure that is maintainable
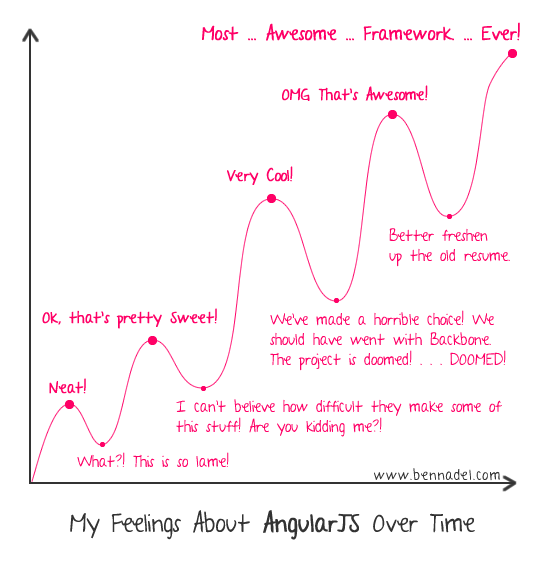
Sound too good to be true? It is. While AngularJS itself is easy to pick up, it’s extremely hard to master.

We decided to take some of the technical load off our users, so we created an easy-to-use directive that will allow them to use ZingChart inside of AngularJS. Now you can create charts with data that responds to your application.
Hello <zingchart>!
Directives in AngularJS allow the user to add functionality to a rather typical DOM node. They can come in many different flavors:
-
Elements
-
Classes
-
Attributes
A very useful attribute directive, “ng-model”, allows the user to bind an AngularJS model to an input, select, or textarea. This modifies its value dynamically, using two-way data binding. Every time that model’s value changes, it will be both available in the view as well as in the controller. Pretty slick.
We have utilized the element directive to create <zingchart></zingchart>. With a few simple attributes, you will have a dynamic chart in no time. This tutorial will walk you through the basics of creating AngularJs charts using our directive, in three particular ways:
-
ZingChart basics
-
Making the ZingChart-AngularJS directive useful
-
Customizing charts and data
This does not really cover the specifics of AngularJS. If you are new to AngularJS and would like to learn more, head on over to egghead.io for some really great tutorials.
To follow along with this ZingChart-AngularJS tutorial, you can either use this jsFiddle environment (recommended) or follow the instructions below to set up locally.
Download
To download the ZingChart-AngularJS directive, install it from either:
bower
bower install zingchart-angularjs
npm
npm install zingchart-angularjs
GitHub
github.com/zingchart/ZingChart-AngularJS
*NOTE: You will also need to download the ZingChart library and AngularJS.
Set up the ZingChart-AngularJS directive
The bare minimum to get you started:
//my-zingchart.html
<html ng-app="myApp">
   <head>
       <script src="//ajax.googleapis.com/ajax/libs/angularjs/1.3.14/angular.min.js"></script>
       <script src="//cdn.zingchart.com/zingchart.min.js"></script>
       <script src="zingchart-angularjs.js"></script>
       <script>
           var app = angular.module('myApp', []);

           app.controller('MainController', function($scope){

           });
       </script>
   </head>
 <body>
     <div ng-controller="MainController">
     </div>
 </body>
</html>
Part 1 - <zingchart> Basics
1.1 Get Started
Direct inject the zingchart-angularjs directive into the app :
var app = angular.module('myApp', ['**zingchart-angularjs**']);
Create a model inside of the MainController. This will contain your chart’s data.
app.controller('MainController', function($scope){

  $scope.myData = [1,4,5,5,10];

});
Create a <zingchart> element inside of the <div ng-controller="MainController">, specifying both the id of the chart, and the zc-values attribute.
<div ng-controller="MainController">
  <zingchart id="chart-1" zc-values="myData"></zingchart>
</div>
And you’ve made your first chart with the ZingChart Directive!
1.2 - Height, Width, Type
Let’s play with the rest of the exposed attributes: add the following attributes
<zingchart id=”chart-1” zc-values=”myData” zc-height=”300” zc-width=”500” zc-type=”bar”></zingchart>
These three attributes accept string values:
-
zc-height : Modifies the height of the chart
-
zc-width : Modifies the width of the chart
-
zc-type : Modifies the type of the chart
Part 2 - Making the Directive Useful
What’s so special about the line chart that we just made? It’s already set up to update dynamically in conjunction with AngularJS! Let’s make our data “dynamic”. Change your code to the following :
app.controller('MainController', function($scope, $interval){
    $scope.myData=[0,1,1];
    $interval(function(){
        $scope.myData.push(Math.random() * 10);
    }, 1000);
});
The snippet of code that we inserted into our controller updates our dataset every second. Note that we did not explicitly tell ZingChart to update our data when it changed. This is where our directive and AngularJS really shine.
In a real application, you would update the data using AJAX instead of using an interval like we did here.
[zc-values] is watched for any changes by the <zingchart> directive and will update the chart whenever the data is changed. For those familiar with AngularJS, the values array is being watched by $watchCollection.
Part 3 - Chart Data and Configuration
In Parts 1 and 2, our dataset was a simple array. Let’s configure our chart a little further. (We will be removing our $interval code that was added in Part 2.)
3.1 - [zc-values]
The attribute [zc-values] accepts both single and multi-dimensional arrays. If your data consists of many series and needs to be on the same chart, the [zc-values] attribute can handle it.
app.controller('MainController', function($scope){
    $scope.myData = [[1,4,5,5,10], [9,3,4,5,6]] ;
});
3.2 - [zc-json]
Creating line charts is fun and all, but what about all of the other customizability that ZingChart offers, including chart types and styling? The [zc-json] attribute provides the user a way to insert the same familiar json structure that ZingChart provides.
This allows you to create ANY chart or configuration that ZingChart is capable of. More information: www.zingchart.com/docs/json-attributes-syntax/
Let’s try it out by making our line chart into a bar chart of different colors.
Update the controller with the following configuration:
app.controller('MainController', function($scope){
    $scope.myData = [[1,4,5,5,10], [9,3,4,5,6]] ;
    $scope.myObj = {
      type : 'bar',
      series:[
          {
              backgroundColor : "#FAEE00"
          },
          {
              backgroundColor : "#A0FFEE"
          }
        ]
    };
});
And update the ZingChart directive to include the json object
<div ng-controller="MainController">
    <zingchart id=”chart-1” zc-values=”myData” zc-json=”myObj”>
</div>
Those familiar with ZingChart might be asking if you can include the data inside the object instead. Yes you can.
$scope.myObj = {
type: 'bar',
  series: [{
    backgroundColor: "#FAEE00",
    values: [1, 4, 5, 5, 10]
  }, {
    backgroundColor: "#A0FFEE",
    values: [9, 3, 4, 5, 6]
  }]
};
This will render the exact same chart as above, but with one big difference : How the <zingchart> directive will update the data. [zc-values] uses $watchCollection, while [zc-json] uses a deep $watch.
In terms of performance, $watchCollection does a shallow, dirty check of the first-sibling objects inside of the model, while the deep $watch checks for every object’s value and its children’s values. This can become very costly over time.
Our recommendation: Use [zc-values] if your data changes frequently. [zc-json] can be used for all other configurations and/or data that does not update frequently. If you do happen to add your series values in both objects (or completely different series values for that matter), the values of [zc-values] will override the values of [zc-json]. More on inheritance at the end of this section.
3.3 - [zc-render]
This is the object used to configure ZingChart’s properties, such as render type and adding listener events. More information on events: www.zingchart.com/docs/reference/zingchart-object/#zingchart__render
Let’s add an event to our object and change our output type to “canvas”
app.controller('MainController', function($scope){
    $scope.myData = [[1,4,5,5,10], [9,3,4,5,6]] ;
    $scope.myRender = {
        output : "canvas",
        events : {
            complete : function(p) {
                console.log("here");
                alert("Chart is finished!");
            }
        }
    }
});
Add the zc-render attribute to the zingchart directive
<zingchart id="chart-1" zc-values="myData" zc-render="myRender"></zingchart>
Note that the biggest difference between zc-values/zc-json and zc-render is that zc-render is only evaluated ONCE. Therefore, if you add any values inside your zc-render object, it will not be updated by the directive. This attribute is strictly for an initial setup.
zc-values, zc-json, zc-render - which do I use?
Each of these attributes can accept values and render on the graph, but what are the benefits of each? Can I get a TL;DR?
[zc-values]
-
Best place to add data that is self contained.
-
Fastest to update (Using $watchCollection)
-
Only accepts array values.
-
Overrides values in [zc-json], and [zc-render]
[zc-json]
-
You can add the series values in here like you would in ZingChart.
-
Keeps the data close to it’s configuration.
-
Slower update (Using a deep $watch). Can affect performance greatly.
-
Recommendation: Use [zc-json] configure the chart. If your data is dynamic, add that data to [zc-values]
-
Overrides values in [zc-render]
[zc-render]
-
Useful for configuring options such as events and render type.
-
Only evaluated once
-
Recommendation: Useful for setting up the chart and its events. Not for any dynamic data. Feel free to put any chart configuration or data series that will not change here to reduce the number of watches.
What’s next?
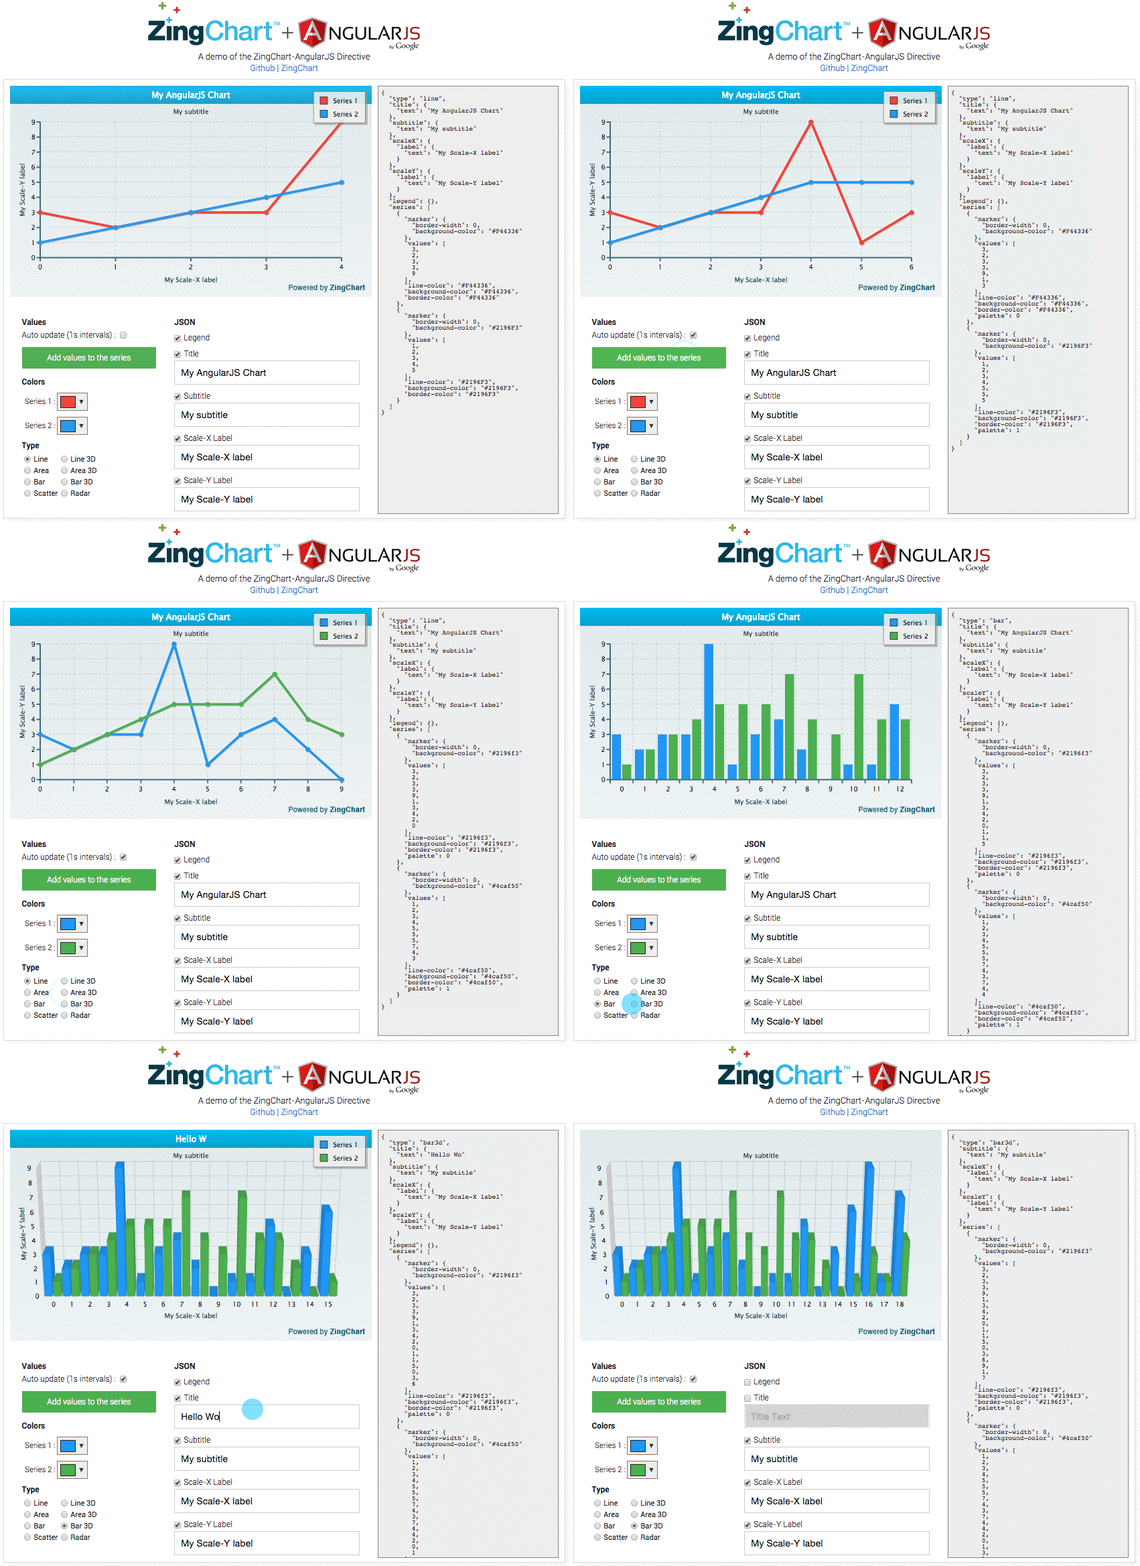
Now that you know the ins and outs of the directive, it’s time to get out there and start coding! We have created a small playground to showcase a small subset of what is possible when combining AngularJS and ZingChart. Make sure to check out the code to see how it all works underneath.
Check out this blog post for some dynamic examples of AngularJs and ZingChart! Or visit our docs page for some in-depth examples!
And try it yourself at //zingchart.github.io/ZingChart-AngularJS/
Feel free to submit any pull requests you find with the directive or the demo. We are eager to see what you come up with, so please share it with us!
We’ll have more content regarding our Angular directive in the coming weeks, so please follow ZingChart on Twitter to get updates on that as it happens.
We are also looking to create similar components for other MVC frameworks. Please let us know which framework you use, so we can try and make it our next priority.
